
How to Cook The Perfect Steak: The Bajamonti Guide
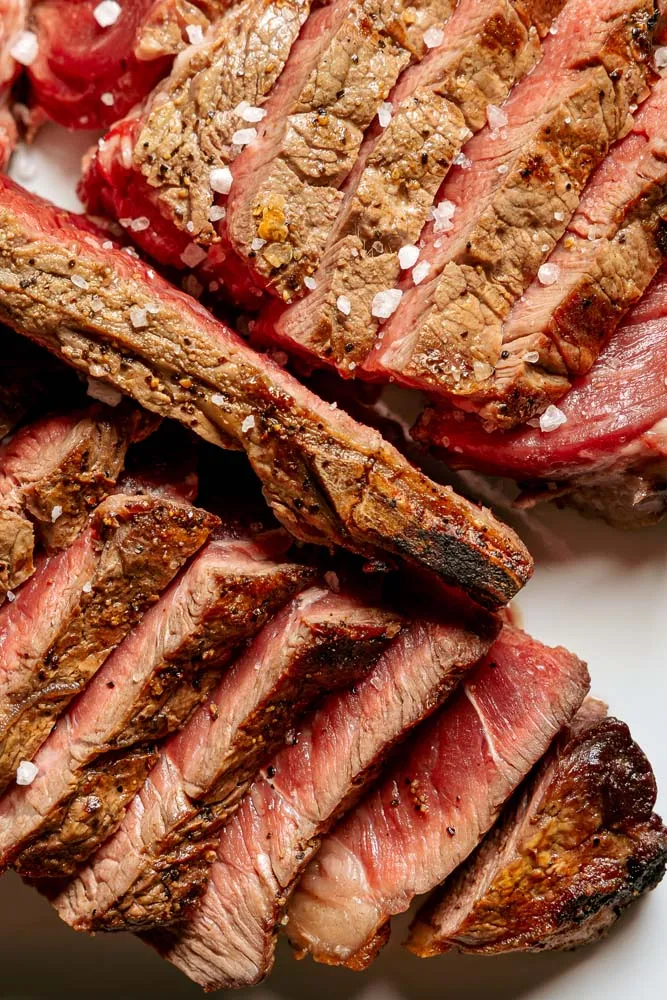
Cooking a steak well comes down to four things: a dry surface, high heat, a sear you can control, and enough patience to rest the meat before slicing. By the time a T-bone has spent 40 days in the dry-ager at our entrance, its surface is dry enough to brown faster and develop a deeper crust than fresh beef. Choosing between a ribeye and a T-bone is a separate question, and pull temperatures and thermometer technique have a guide of their own.
What You Need Before Cooking Steak
None of this requires specialist equipment. The same basic tools can be found in most home kitchens, and what makes the difference is how you use them rather than how much they cost.
- A heavy pan or properly heated grill, cast iron, carbon steel or heavy-based stainless
- High-heat cooking oil, refined sunflower, grapeseed or avocado
- Butter for basting, unsalted
- Salt, pepper and optional aromatics
- Tongs for turning the steak
- Instant-read thermometer
- Cutting or resting board
How to Pan-Sear Steak Step by Step
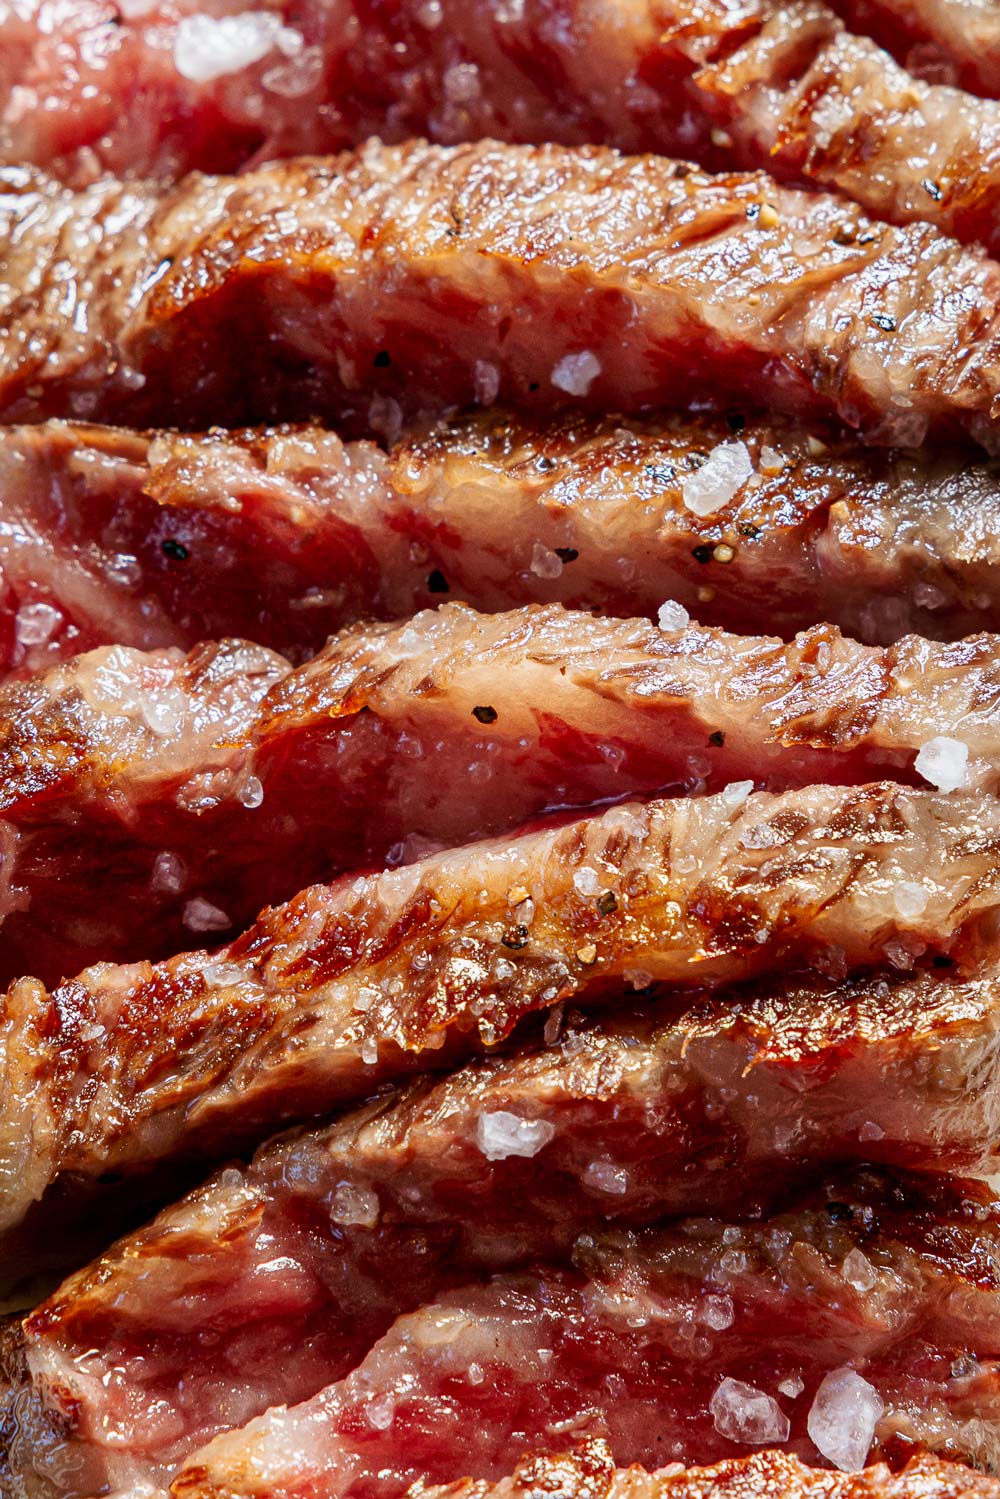
The method assumes a steak between 2 and 3 cm thick, the size a domestic hob handles best. A 2 cm steak needs roughly six to eight minutes in the pan for medium-rare and a 3 cm steak closer to ten, though the thermometer decides it rather than the clock. Most of the damage gets done in the first two minutes.
1. Pat the steak dry and season it
Every steak that leaves our dry-ager gets patted dry on all sides, top, bottom and edges, before it goes anywhere near heat. This is not fussiness. Surface water cannot climb past 100 °C, so while the steak is wet it steams instead of browning. Only once that moisture is gone can the surface reach roughly 140 °C, where the Maillard reaction starts building crust and the deep, savoury aroma that comes with it.
Season generously with coarse salt. If you are cooking straight away, move directly to the pan. If you have time, salt at least 45 minutes ahead, ideally overnight, and leave the steak uncovered on a rack in the fridge so the surface can dry. Add cracked pepper just before cooking.
2. Preheat a heavy pan properly
Put the dry pan over high heat and give it time. This is where most home cooking goes wrong. Cast iron needs several minutes to heat evenly all the way through, and a grill deserves the same patience. The pan is ready when a drop of water skitters across the surface and vanishes almost instantly.
3. Add high-heat oil and begin searing
Film the base with oil, wait until it shimmers, then lay the steak down away from you. Press it gently so the whole surface makes contact, and then leave it alone for the first 60 seconds while the crust sets.
Give the meat room. Crowded steaks trap steam between them, and steam is the enemy of crust.
4. Flip regularly to cook the steak evenly
We turn steaks often, and there is a reason for it. Tests by America’s Test Kitchen found that steaks turned every minute developed a crisper crust and cooked more evenly than steaks flipped only once, while the Serious Eats Food Lab reached a similar conclusion independently. Each turn lets the hot side shed heat into the air while the cooler side takes its place on the metal. You end up with a thinner band of grey meat under the crust.
5. Sear the edges and render the fat
Stand the steak on its fat cap with the tongs and hold it there for 30 to 60 seconds, until the fat turns golden and begins to melt. On a ribeye or T-bone we treat this as compulsory, while leaner cuts have far less to render, which is one of the differences between the main steak cuts. That rendered fat carries a large share of the flavour, and leaving it pale and rubbery can make even a good steak noticeably less enjoyable. Roll the steak onto its remaining edges for a few seconds each.
6. Add butter, garlic and herbs near the end
In the last minute or two, add a knob of butter, a lightly crushed garlic clove and a sprig of rosemary or thyme. Tilt the pan and spoon the foaming butter over the meat without stopping.
Butter goes in late for a reason: its milk solids burn well below searing temperature. Added at the start, they would be black and bitter long before the steak was ready.
7. Check the doneness with a thermometer
Insert an instant-read thermometer through the side of the steak into the thickest part, keeping the tip clear of bone and of any large pocket of fat.
Take the reading, then pull the steak off the heat below your target rather than at it. Our steak temperature guide explains the correct pull temperatures and how much the centre continues to warm during resting. A thin steak rises only slightly once it leaves the pan, while a thick bone-in cut climbs considerably further.
8. Rest the steak before slicing
Move the steak to a board and leave it there. As a working rule, rest it for around half its total cooking time, so three or four minutes for a 2 cm steak and five or six for a 3 cm one. A large bone-in cut off the grill needs closer to ten. Resting allows the temperature to even out across the cut and reduces the amount of juice lost when you slice it. It is also when the steak continues to cook, which is why you took it off the heat before reaching the final target temperature.
Tent it loosely with foil if your kitchen is cold, but never wrap it tightly. Trapped steam softens the crust you just spent ten minutes building.
Pan-Searing, Grilling and Reverse Searing Compared
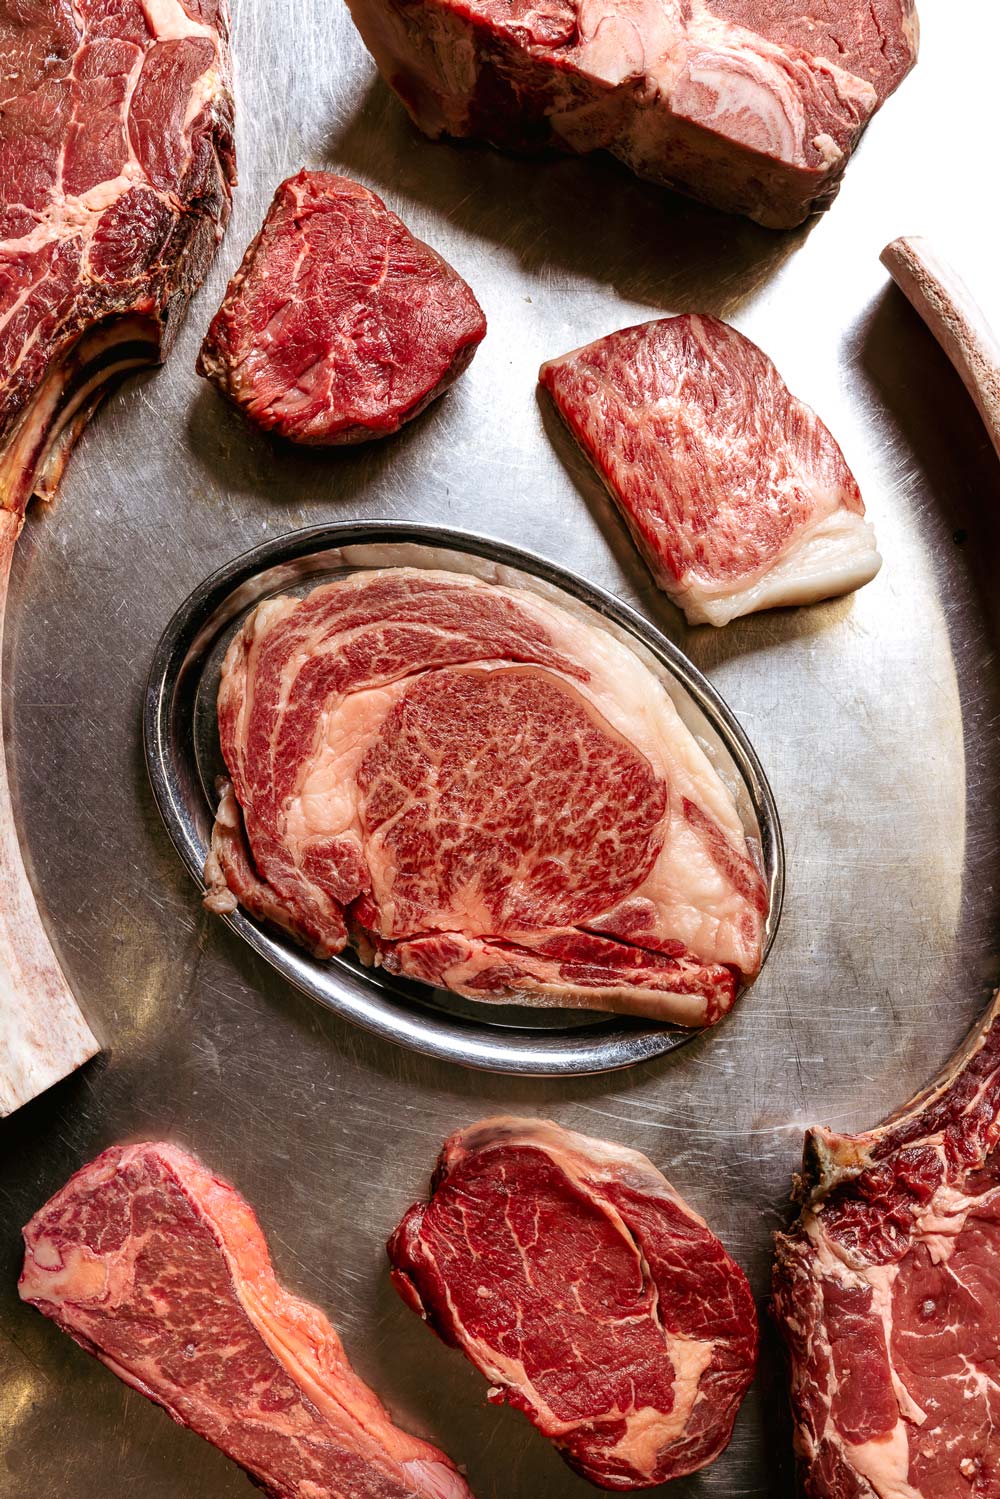
No single method wins on every steak. Thickness decides most of it, followed by how much control you want over the crust and whether live fire is available.
Pan-searing for control and an even crust
The pan gives you the most control of the three. Heat is steady, contact is total, and edge-to-edge browning is straightforward. Butter basting is only really possible here, and you can see and adjust everything as it happens. For steaks up to roughly 3 cm thick, this is the most reliable method in a home kitchen.
Grilling for smoke and direct-heat flavour
Live fire brings what a pan cannot: smoke, char and the aroma of fat meeting hot coals. This is where the thickest, driest cuts belong. A 40-day T-bone or a well-marbled ribeye takes intense radiant heat and turns it into a deep exterior crust while the centre comes up more gradually, and that gap between outside and inside is exactly what a heavily aged cut wants. That contrast between a deep crust and a gradually warmed centre is central to the way we cook at our steakhouse in Split, where dry-aged steaks go over fire rather than metal.
Control is looser on a grill, so build a two-zone fire (hot side for searing, cooler side for finishing) before the first steak goes on.
Reverse searing for thick steaks
Reverse searing inverts the order. The steak goes into a low oven, around 110 to 120 °C, until it approaches target temperature, then takes a short, ferocious sear at the end. Because the interior rises slowly and evenly, you get a wall-to-wall pink centre under a very thin grey band.
It costs time, which is why it is not a weeknight method. It is what a thick bone-in cut needs when an ordinary sear would char the outside before the middle caught up.
Choose by thickness. Under about 3 cm, pan-sear. Around 4 cm and up, reverse sear or build a two-zone grill. With live fire and a heavily aged cut, grill it.
How to Slice and Serve Steak Properly
The last two minutes can undo the previous twenty. A steak cooked perfectly and cut carelessly eats tougher than a lesser steak sliced correctly, and what arrives alongside it changes how the beef itself tastes.
How to find the grain and slice across it
Look at the cooked surface and find the direction the muscle fibres run. They show as fine parallel lines. Turn your knife so the blade travels across those lines rather than along them, and cut at a slight angle. Slicing across the grain shortens every fibre in the slice, so your teeth do far less work and the same piece of meat eats noticeably more tender.
Watch the cuts where the grain changes direction. On a T-bone the strip and the tenderloin run differently, which is why we take both off the bone first and slice each on its own terms.
Finish the steak with salt, butter or sauce
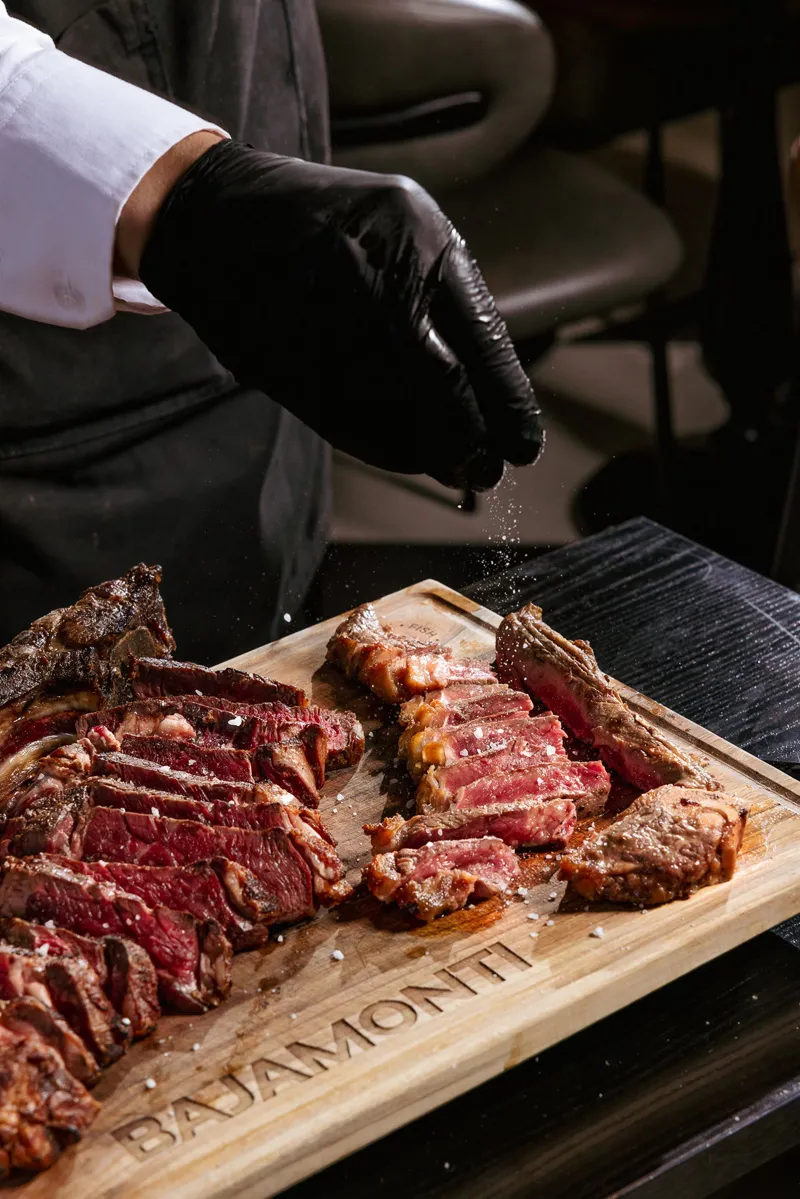
Restraint wins. Flaky salt over the cut slices, a spoonful of the resting juices, or herb butter melting on top is usually all a good steak needs, and a sauce should stay in a supporting role.
We follow the same principle when choosing what goes alongside the beef. Sides should complement the meat rather than compete with it, which is why we keep them balanced and let the crust and rendered fat remain the focus of the plate. It holds across our full menu, from the wood-fired pizzas to the Adriatic fish.
Wine works the same way. Leaner cuts sit well with a white or a rosé, while a richer, well-marbled steak wants a red with enough structure for the fat. Our wine list covers both, and our staff will point you to a bottle.
Common Steak-Cooking Mistakes to Avoid
Most disappointing steaks fail for reasons that have nothing to do with the quality of the meat. The mistakes below are common, easy to avoid and often make a bigger difference than spending more on the cut itself.
Starting with a wet steak surface
The most frequent mistake and the most avoidable. Surface moisture holds the meat below browning temperature until it burns off, so the first minute in a hot pan goes on drying the steak rather than colouring it. Beef straight from vacuum packaging is the worst offender, because it arrives sitting in its own liquid and stays that way unless you deal with it.
Using a small or overcrowded pan
Two steaks squeezed into one small pan release moisture faster than it can evaporate, so they end up steaming each other instead of searing. A pan carrying that much cold meat also drops in temperature and struggles to climb back. Cook in batches, or use a pan with room to spare around each steak.
Choosing the wrong method for the steak's thickness
A 5 cm steak seared over full heat can become heavily charred on the outside long before the centre has warmed through. A thin steak given the slow-oven treatment goes grey throughout for the opposite reason, with no crust worth the name to show for it.
Forgetting to sear the edges and render the fat
Unrendered fat is chewy and bland, and on a well-marbled cut it accounts for a large share of what you paid for. Thirty seconds standing on the fat cap turns it golden and soft instead. Of all the steps, this is the one whose absence guests notice most.
Slicing with the grain instead of across it
You can cook everything else perfectly and undo it with the last cut, since fibres left long will make even a tender steak chew tough. Find the direction of the grain before the knife goes in, and check it again partway across on cuts where the grain shifts.
How Bajamonti Prepares and Serves Steak in Split
Time over the grill is only one part of what we do. What reaches the table is the result of a longer process: sourcing and ageing the meat, getting the sear right, allowing it to rest, carving it properly, and serving the sides and sauces at the right moment. Getting all of that to peak together is the part that is hard to stage at home.
Our large-format cuts show it most clearly. The 40-day dry-aged T-bone takes a long, committed sear and a full rest before carving. Our 28-day dry-aged ribeye for two is carved at the table, so the rest and the carve have to be judged to the minute.
If you would rather taste the method than practise it, book a table at our steakhouse on Prokurative and let our kitchen handle the timing.
Steak Cooking FAQs
Can you cook steak without a cast-iron pan?
Yes. Carbon steel or heavy stainless works. What matters is mass and a flat base, since a thin pan drops temperature the moment cold meat lands on it.
Do you have to defrost steak before cooking it?
No. You can cook steak from frozen, but it usually takes around 50 per cent longer. Sear it in a hot pan, finish it in a moderate oven, and use a thermometer to check the centre. USDA guidance recommends a minimum internal temperature of 63°C for whole beef steaks, followed by a three-minute rest.
What is the best way to reheat leftover steak?
Reheat leftover steak slowly in a low oven until the centre reaches 74°C. If you want to refresh the crust, finish it with a brief sear in a hot pan.